Thank you to Lexy Ho-Tai, our crafting guest correspondent for this easy and fun craft.
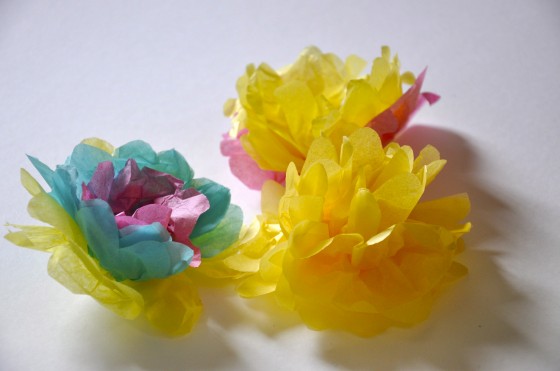
Happy Friday! The sun is shining, flowers are blooming… Summer is here! But why not bring some of that summer indoors? We’re loving these paper flowers – they’re super easy to make and brighten up any room (bonus: you don’t have to worry about watering them!). Yes, summer is here – outside and inside!
Estimated Time: 5 Minutes
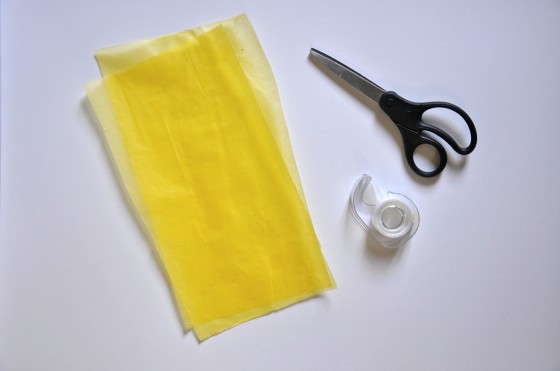
What You'll Need: Tissue Paper, Scissors, Tape
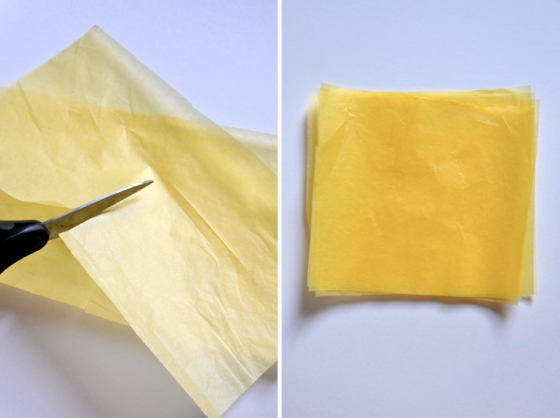
1. Cut the tissue paper so you have four square pieces of the same size. The square pictured is about 5 inches in length; this is a good size to start off with. Later, you can vary the size of paper for different flower sizes!
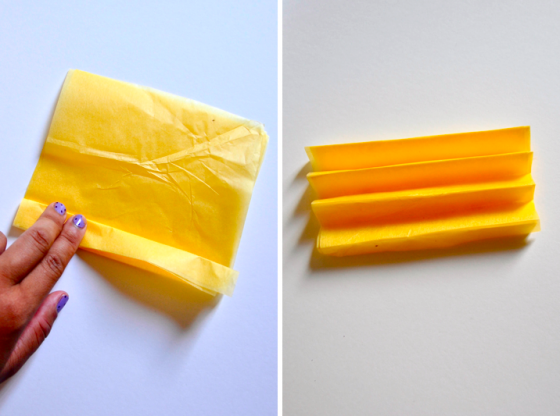
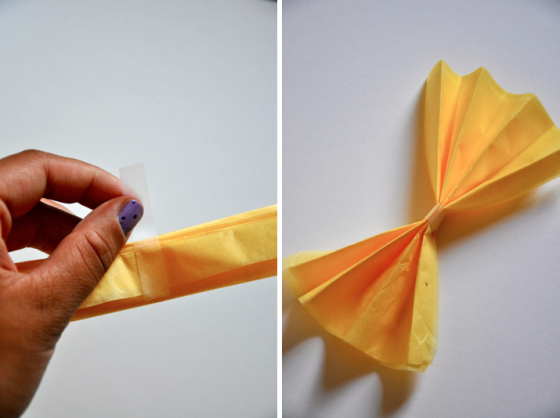
2. Stack the pieces of tissue paper and fold it like you are folding a fan or an accordion (fold about 1 inch perpendicular to the edge; flip it over, and fold it along the fold you just made.) You should have about 5-6 folds.
3. Tape a thin piece of tape around the center to hold the folding in place.
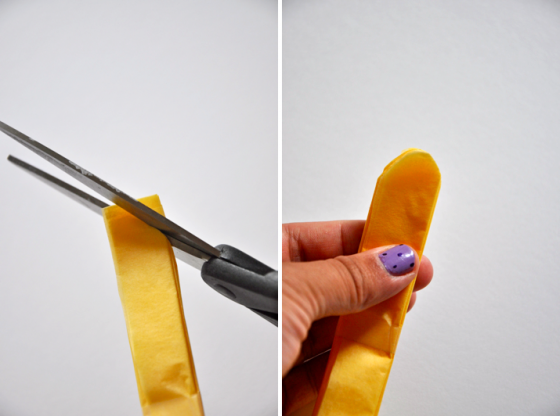
4. With the ends held together flat, cut a semi-circle at the end to create a “petal” shape.
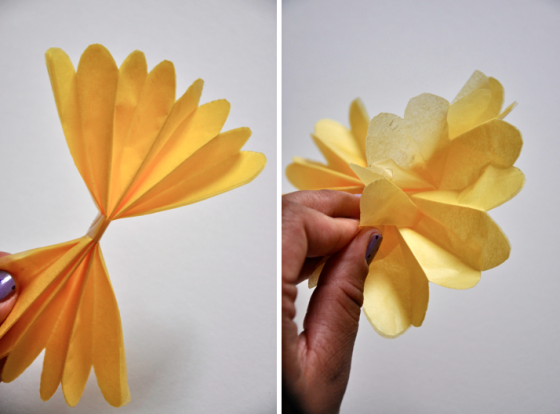
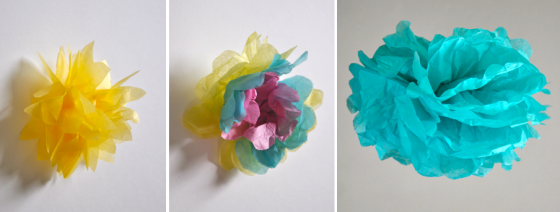
5. The fun part! Make the flower bloom by separating the different layers of tissue paper (be gentle; you don’t want to tear it!).
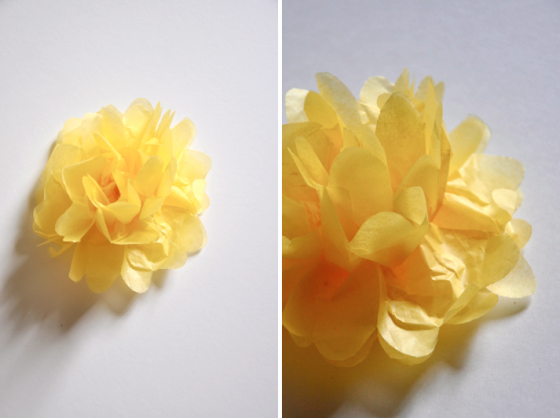
… And Ta-da! Your very own flower!
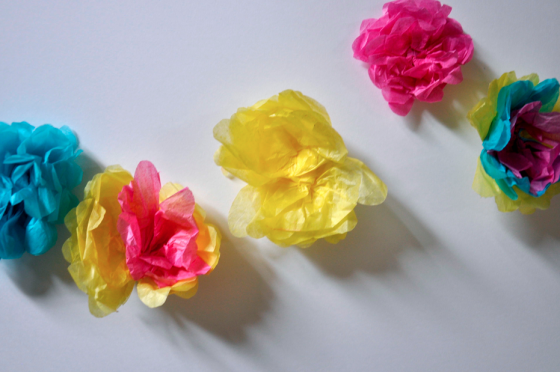
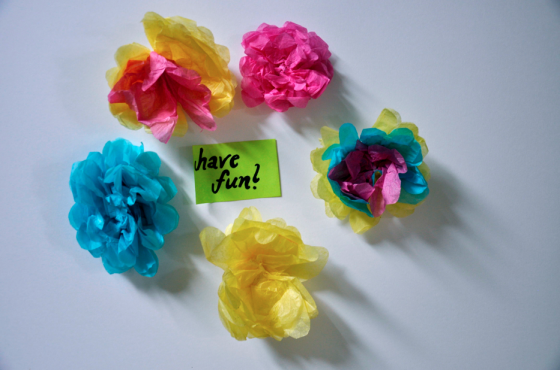
After you’ve done one, why not make more? Have fun trying new things! For instance, you can change the shape of the petal, the colours of the tissue paper, or even add more layers so you make a pom-pom!
The possibilities are truly endless! What will do with your flowers? We'd love to see a photo.
Happy crafting!

